Placing Symbols on walls by 2 Points
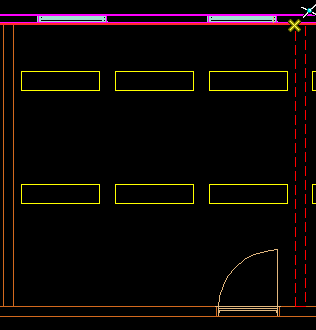
This function places symbols on walls, for example receptacles.
-
Select
 (Place Symbol By 2 Points).
- Select insert point as start data point in the drawing. Move along the wall and click the end data point. Use snap function for precision. Moving the cursor while defining end point defines insert angle, as required. Opens the Place Symbol dialog.
- Optionally use the Select Symbol to opens and pick different symbol from Symbol Manager. Select Symbol and click OK to close Symbol Manager.
-
In Place Symbol dialog define symbol parameters:
- In the 2D section, select symbol angle, from 4 angle options.
- Enter rel. Angle — a free selectable symbol angle, also accepts negative (-) entries
- Offset X: defines X-axis offset from first point selected before.
- Offset Y: defines Y-Offset from line that was set by selecting two points before.
- Flip: Flips symbol to the other side of the line that was set by selecting two points before.
- In the 3D section, set the required height for symbols.
- Offset Y: sets the offset of the 3D component of symbol from the line that was set by selecting two points.
- Click >Preview to see the symbol arrangement in the view.
- Once reviewed, click on OK to place symbols in drawing.


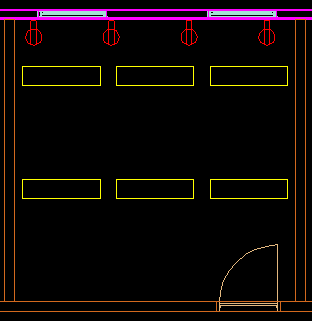
Each symbol can be edited individually.
To change the height of symbols that are already placed in drawing, use the ![]() (Modify Symbol Height).
(Modify Symbol Height).

Select symbol(s) in drawing and then enter new height.